- To start the Windows installation, first check that the first boot device in your system BIOS is set to the CD-ROM Drive. (To find out how to access the BIOS please refer to your motherboard manual or the manufacturer of your computer. (The system bios can usually be entered on boot, usually by pressing the F1, F2, F8, F10 or DEL key. Make sure you save the settings before exiting)). If you are unsure or don't want to enter the BIOS then just test the computer by putting the CD-ROM in the drive and rebooting the computer. This is the recommended way to install windows.
- To begin the Windows 98 install select Option 2 (Boot from CD-Rom).

- The following screen will appear next. Select Option 1. (Start Windows 98 Setup from CD-ROM).

- Your CD-ROM driver will now install, be patient this may take a few moments.

- Now press Enter to continue, or F3 to exit.

- Setup will now perform checks on your system, press Enter to continue.

- Next Scandisk will run, let this complete or setup.

- Now setup will copy important files for the install.

- Setup has now begun, the mouse should now be active, press Continue to proceed. If you have a change of mind then press Exit Setup. If the mouse is not active press "ENTER" on the keyboard.

- The wizard will now start. Be patient this may take a few moments.

- Now select the directory you wish to install Windows into. By default C:\Windows will be selected. You can change this, but it is not advised. Click on Next to Continue.

- Setup will now prepare the directory, be patient this may take a moment.

- Setup now checks disk space.

- What do you wish to install. We recommend Typical, which is the default. So click Next to continue.

- Windows Components to be installed will now be listed. Leave at default and press Next.

- If a Network card has been detected the following will appear. Fill in the details and click Next.

- Now your country settings, select as needed and then press Next.

- Windows will now copy files, this will take sometime. Be patient.

- After sometime you will be prompted to restart, Windows will do it itself, you can click on Restart Now to quicken the process.

- The CD-ROM boot menu will appear. Select option 1 (Boot from Hard Disk).

- Booting for first time screen will appear.

- Now enter your name, company is optional. Click on Next to continue.

- Now the License Agreement. Read and if you agree click on "I accept the Agreement" and click next. If you select ""I don't accept the Agreement" then setup will end.

- Now input your product key or certificate authenticity code. This is 16 digits and is located on the back of your CD case or on the Windows 98 Book. If you have an OEM computer then it could be on the side or back of your computer. Click next to continue.

- Next click on Finish.

- Setup will now finalize the hardware and install settings.

- Plug and Play Devices.....

- Your computer will prompt to restart....

The CD boot menu will appear. Select option 1 (Boot from Hard Disk) and press enter.

- Windows is booting.

- and continuing the install of devices.

- Now select your date/time settings, using the down arrow beside GMT -0800.

- Once selected click on apply and then OK.

Windows will continue to setup Windows items.

- The computer will now need restarted again.

- The CD-ROM boot menu will appear. Select Option 1 (Boot from Hard Disk) and press enter.

- Windows will continue to load.

- and update System Settings.

- At long last you have arrived at the desktop.

- If you are lucky you will have no drivers to install, but chances are the next step will be to install them. Check out device manager for unknown devices, likely items are Network Cards, Sound Cards, Printers, Scanners, Graphics Cards, Digital Cameras, plus any other item you have.
THE END
REFERENCE:http://www.windowsreinstall.com/win98/install98cd/indexfullpage.htm
WINDOWS XP SP3 INSTALLATION GUIDE
- To start this Windows install. First check that the first boot device in your system BIOS is set to the CD-ROM Drive. ( To find out how to access the BIOS please refer to your motherboard manual or the manufacturer of your Computer. (The system bios can usually be entered on boot, usually by pressing the F1, F2, F8, F10 or DEL key. Make sure you save the settings before exiting)) . If you are unsure or don't want to enter the BIOS then just test the computer by putting the CD-ROM in the drive and reboot your computer. This is the recommended way to install windows.
- To begin insert your Windows XP Professional CD and reboot you computer. Setup will boot automatically and then inspect your computer hardware and configuration.

- Setup now prepares your computer for install..

- From this menu press "ENTER" to begin the install..

- Windows XP License agreement, read, and if you agree press "F8" to continue, press "ESC" if you disagree. If you disagree setup will finish..

- Create a new partition [Local Disk(D:)] in NTFS format for the XP3 from the "Unpartitioned space". Then create another [Local Disk(E:)] in NTFS format to prepare for the Vista installation. And another partition [Local Disk(F:)] in ext3 format for the Ubuntu installation and a partition [Local Disk(G:)] of 512MB size for swap. Now you have to select where to install XP. Press "ENTER" to confirm the partition you want to install into..

- Now you need to format the hard drive, NTFS is recommended, but you can also use FAT32. Make your decision using the arrow keys and press enter. .

- The hard drive will now format..

- and then setup will begin to copy files..

- Setup now initialises the Windows XP configuration..

- It is now time to restart Windows XP, press "ENTER" to speed up process, otherwise Windows will do it itself in 15 seconds..

- Boot will recognize that the XP CD is in the drive, DO NOT press any keys, let setup bypass the CD boot..

- Windows is now booting..

- The install process continues..

- Now your regional and language options. Your mouse should now be active, so click on "CUSTOMIZE"..

- Now select your Standards and Formats, plus your location, then click "OK"..

- Now click on "DETAILS"..

- Next select your default language, click "OK" when done..

- Now that you have made all necessary changes click on "NEXT"..

- Now it is time to personalize Windows. File in your name and if you wish you can also file in the Organization section. Click "NEXT" when ready..

- Now it is time for your product key. The product key will be on the packaging that XP was supplied with. It is 25 digits long. Some OEM computers will have a sticker on the side or back with your product key. Input the key and press "NEXT"..

- Now select your computer name and your admin password. Confirm the Admin password and press "NEXT"..

- Date and Time settings are next, change as need be, then press "NEXT"..

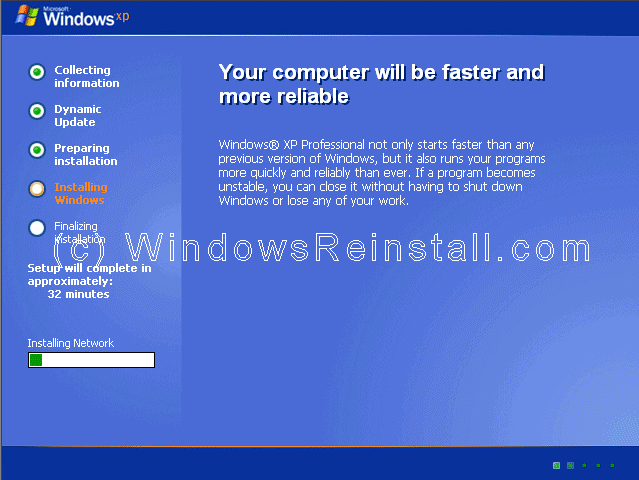
- Windows will then continue installing..
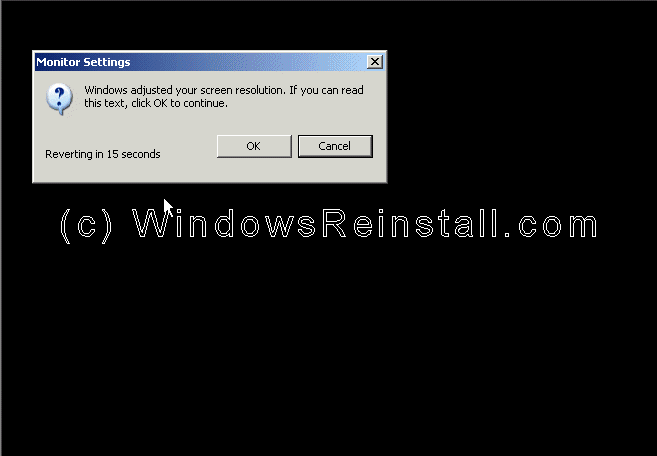
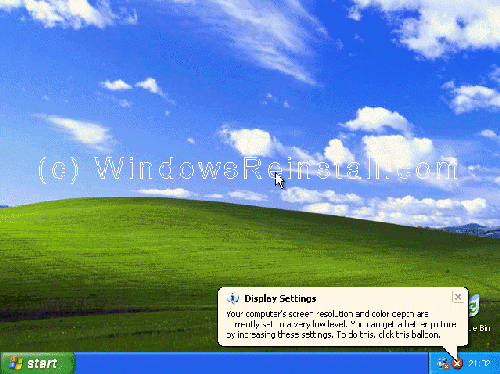
- Windows will now adjust your resolution, click "OK" to continue..

- If you are happy with the changes, click "OK" otherwise press "Cancel" to return to the old settings.
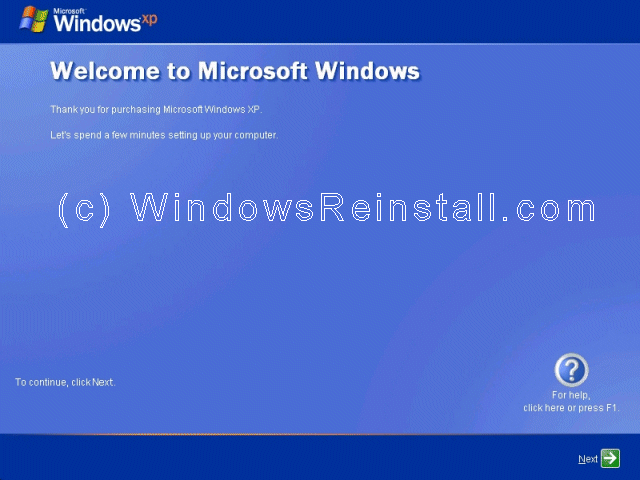
- "Welcome to Microsoft Windows" screen now appears, press "Next" to continue..
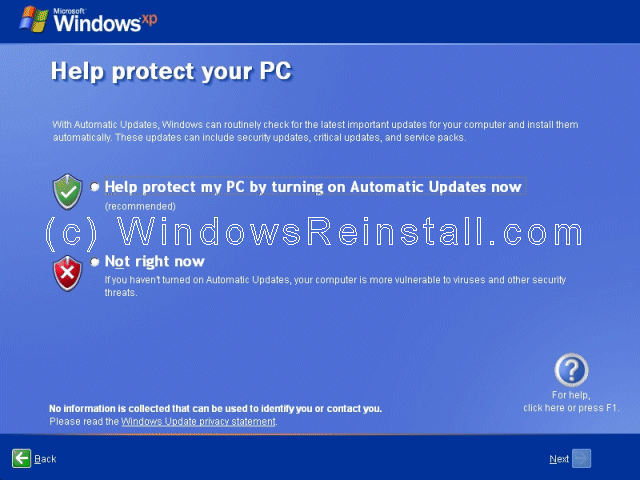
- "Help protect my PC" screen now appears, click top option to enable Microsoft's Firewall, Automatic updates and virus checker warning. It is recommended to do this even if you wish to put your own firewall on later. Only select "Not Right Now" if you not intend to use the internet. Once you select your option, press "Next".
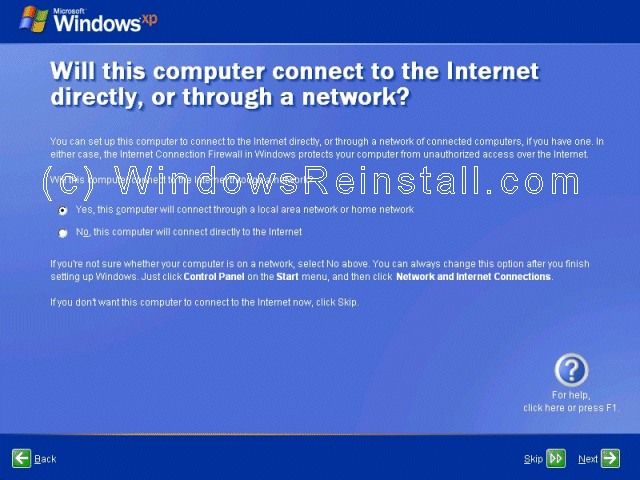
- Internet connection option is next. If your computer connects to a Professional network or directly using the network card, or is on a network then select "Yes", otherwise select "No".
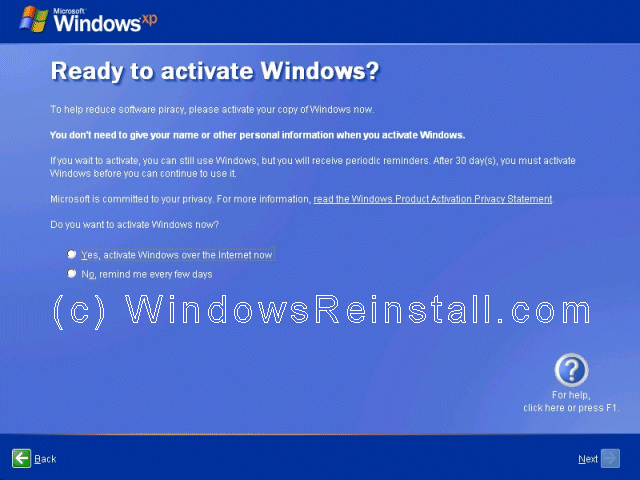
- Activate Windows option appears next, we recommend that you select "No, remind me every few days", that will allow you to make sure everything is correct and running OK before you use up one of your activate attempts. It also allows you to setup your security options and internet connection correctly. Click "Next to continue"
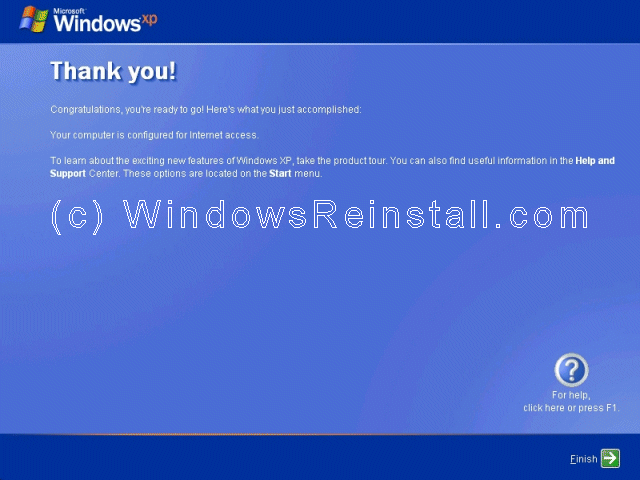
- Windows now thanks you, click "Finish" to continue.
- Windows will now apply your settings...

- Now Windows "WELCOME" screen.

- and finally the Windows XP Desktop. Windows is now installed.
- If you are lucky you will have no drivers to install, but chances are the next step will be to install them. Check out device manager for unknown devices, likely items are Network Cards, Sound Cards, Printers, Scanners, Graphics Cards, Digital Cameras, etc.
- As you done an upgrade you may want to download the latest drivers for all your hardware, and check your programs also as some may not work or require updates.
THE END
REFERENCE: http://www.windowsxpprofessional.windowsreinstall.com/sp2sp3installxpcdnewhdd/indexfullpage.htm
WINDOWS VISTA ULTIMATE INSTALLATION GUIDE
- To start the Windows installation, insert the first CD or the DVD into the drive and start or restart your computer.
- Windows will automatically load files, this may take some time so be patient.

- The Windows Vista install will then begin to load.

- Some of these stages can take quite sometime so be patient.

- Now select your install Language,

- Time and Currency Format,

- plus keyboard type, once you are happy with the settings, Click on "NEXT" to continue.

- From the next screen click on "Install Now" to continue.

- Windows will begin to carry out some processes.

- This section is the collecting information part. First you will need your Windows "Product Key". This will be on the disk packaging provided with your CD's/DVD's. The product key will be 25 digits long and will contain letters and numbers.

- Input key (Dashes will be added automatically), and click next when completed.

- Now the License terms: Read and confirm that you accept the License by selecting the box on the bottom left of the screen.

- Once done click next to continue.

- Now you will asked the type of installation you wish to do. Click on "Custom" to continue.

- Next you will select the location of the install. Select the drive, and then click on "Drive Options" to setup and Format the drive. Alternatively you can just click "Next and windows will use max space available." If you use the later the go straight to next part(Installing Windows) of this guide.

- To setup the hard drive, click on "NEW"

- Select the amount of size you wish to use and click on "APPLY".

- It will take a few moments to apply the settings.

- Once done, click on "FORMAT" to format the drive.

- You will receive a warning, click "OK" to continue, as all info will be permanently deleted.

- Windows is now formating the drive, this may take a few moments so be patient.

- Once done click on "NEXT" to continue.
- This section is for installing Windows, it will take sometime and does not require any input from you, so go make a cup of tea or watch TV as it may take up to an hour. Make sure there are no disks in your floppy drive, as the computer will reboot a few times during this process.
- Windows now copies files:

- Windows expands the files:

- Windows is installing features:

- Windows is installing updates:

- Windows is doing a restart: It will do this automatically if you are not about, otherwise you can click "Restart Now" to speedthings up slightly.

- The computer reboots:
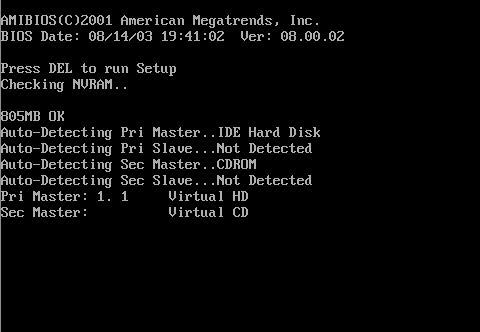
- If you get this message then you have left the a floppy disk in the floppy drive or your harddrive is not in the BIOS boot sequence correctly. Remove disk or fix BIOS then press "Any Key" to continue.

- Windows continues Loading:

- Windows is now booting for the first time, don't be fooled there could still be a few reboots and quite a bit of installing to go.
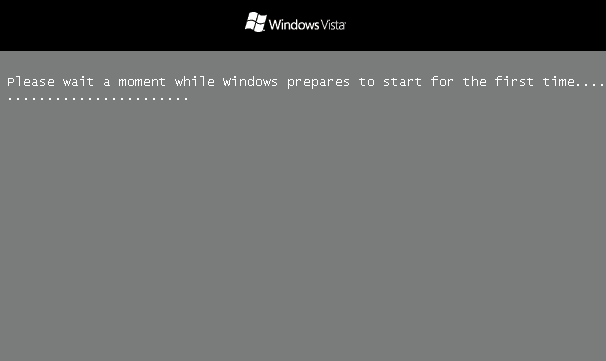
- Windows continues to install:

- Windows does more updating and installing:
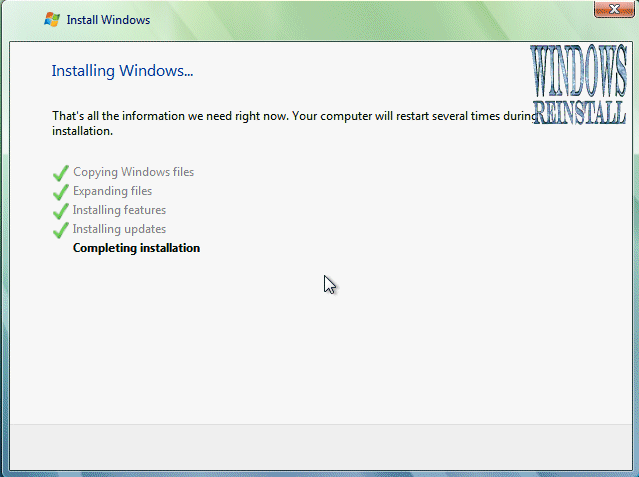
- Windows reboots a few more times:

- and then finally:

38. Setup is almost complete:
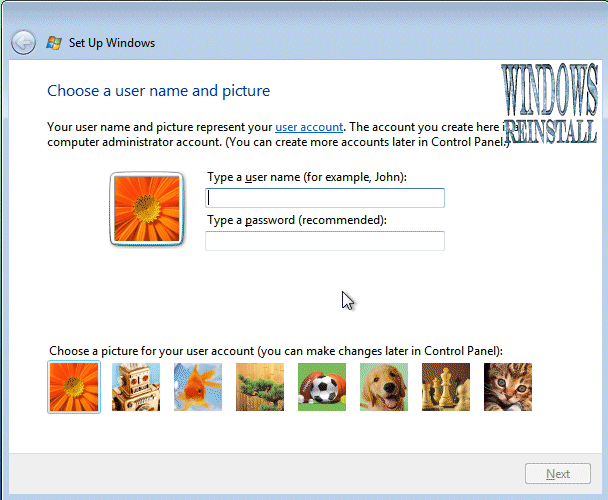
39. Next Input your Username for the computers Administrator account. Then Click on Password.
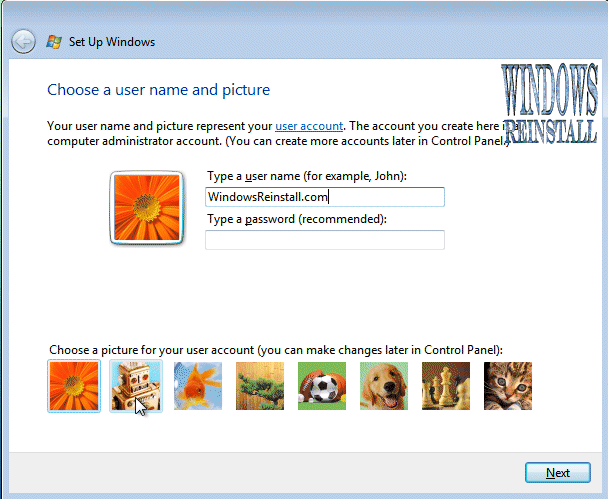
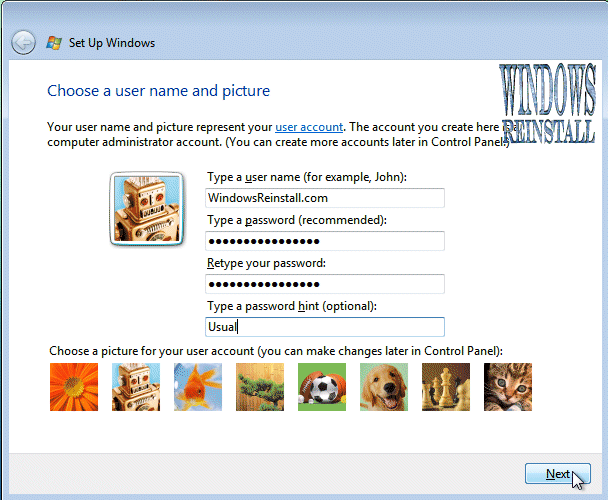
40. Now input your password (One you will remember) and then retype the password to confirm. Also type in a password hint that would help you remember it just in case. Once done click "NEXT" to continue.
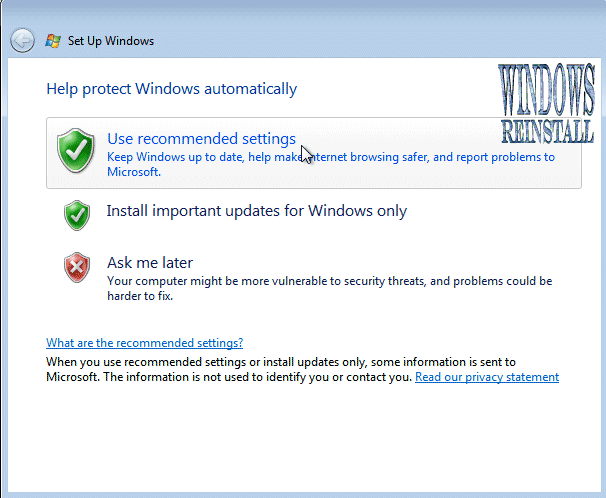
41. Now select your Windows protection method. We recommend the top option "Use Recommended settings", click on your selection to continue.
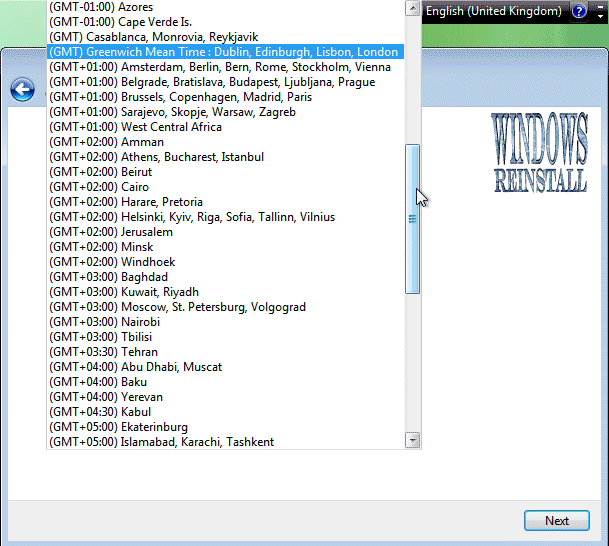
42. Next you need to check the time zone is correct and also the time and date. Time and date in from the BIOS, but "Time Zone" needs to be set. Click the "Down arrow" at the end of the box.
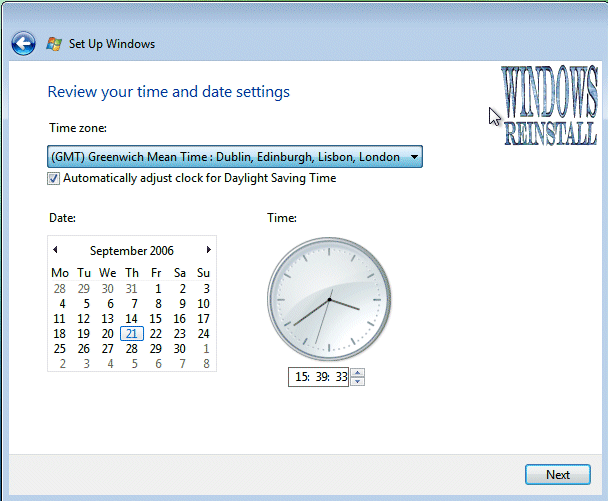
43. Now select your "Time Zone". Once you are happy with your selection click on "NEXT" to continue
44. That is all the information gathered that is needed, Windows Install will thank you, click on "START" to continue....

45. Windows will now check your computers performance.....
46. and begin to load.

47. Now the Windows "LOGIN" screen.
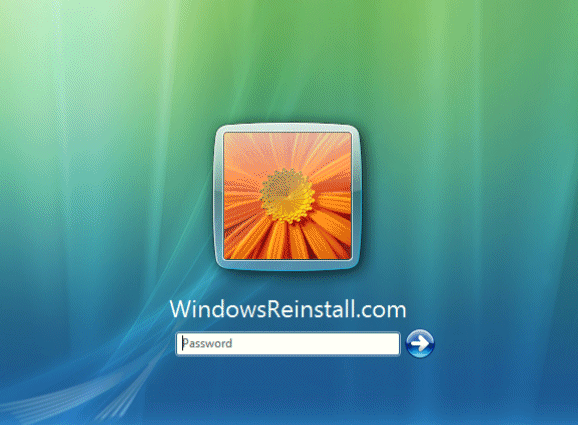
48. Type in your password and click on the arrow (Or press "ENTER") to continue.
49. Windows "WELCOMES" you....

50. Windows now "PREPARES THE DESKTOP"
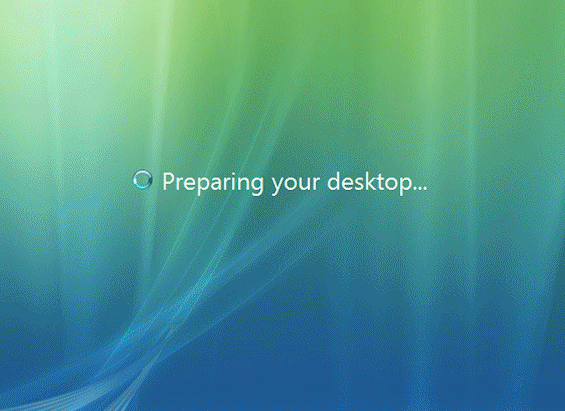
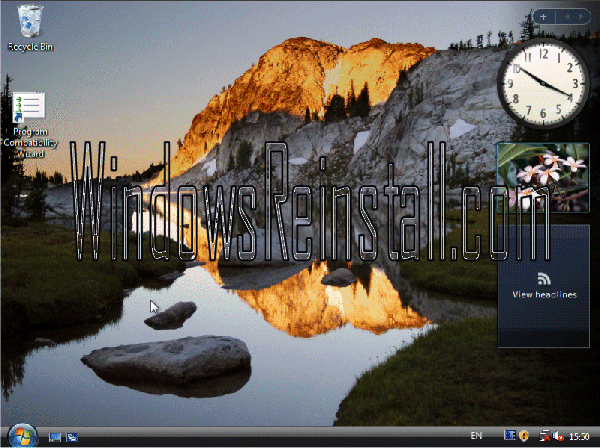
51. Windows desktop appears and the stages of the install begin.
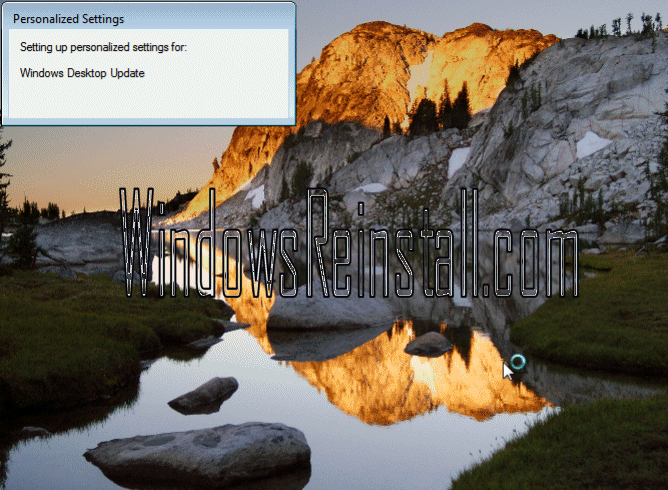
52. Several personalised settings will be installed.
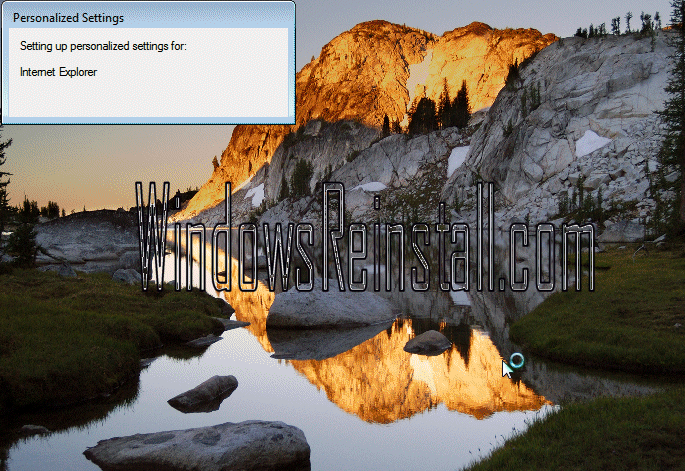
53. The desktop will soon appear.
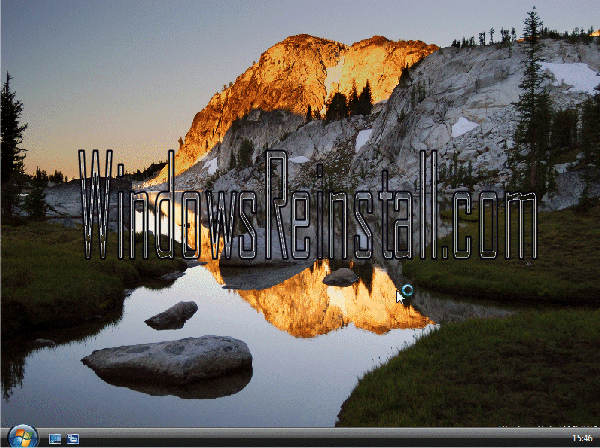
54. It is time to check your drivers and install all other software that you will require.
THE END
REFERENCE: http://www.windowsvista.windowsreinstall.com/vistaultimate/installnewhdd/installnewhdd.htm
UBUNTU INSTALLATION GUIDE
- You'll need to reboot your computer to use Ubuntu. Your computer's BIOS must be set to boot from CD first; otherwise, Windows will just load up again. To get into the BIOS settings, you usually have to press one of these keys during boot-up: Escape, F1, F2, F12, or Delete. Usually your computer will tell you which key to use.
- Once your BIOS is configured to boot from CD first, if you have Ubuntu in the drive, you should see this screen. Select your language.
- Then, select Install Ubuntu.
- After that, you should see a progress bar as the CD prepares to launch the installer.
- Answer the questions as best you can. Most of them should be self-explanatory.
- After you answer the easy questions, a partitioner will come up, and you'll be presented with four options.
- This first option (Guided resize and use freed space) is ideal for users who want to set up a dual-boot (where you can choose whether you want to use Windows or Ubuntu each time you boot up your computer) but know very little about setting one up. You can just drag the division between Windows and Ubuntu to make the Windows installation as small or large as you want, and Ubuntu will fill up the rest of the space.
- The second option (Guided - use entire disk) will erase Windows completely and install Ubuntu over it.
- The third option (Guided - use the largest continuous free space) will make Windows as small as possible and install Ubuntu in the remaining empty space.
- The fourth option (Manual) allows you to manually configure the partitions as you see fit. This is for intermediate to advanced users.
- Read the warning and make sure you understand it. Then, click Continue to confirm the changes.
- More easy questions to answer.
- If you want to migrate settings from Windows, check the users you want to have the settings migrate from.
- Click Install and then wait for the installation to finish.
- When it's finished, click Restart Now.
- When the installer shuts down, remove the Ubuntu disc and hit Enter.
- When the computer reboots, you should have the option to select to boot from Ubuntu or Windows.
- When you select Ubuntu, you can log in with your username and password and then start using Ubuntu!


No comments:
Post a Comment